Integration via Google Tag Manager
This documentation provides instructions on how to install and configure the "Avacy CMP" template within Google Tag Manager (GTM).
Install the template and show the cookie banner
Prerequisites
-
Access to Google Tag Manager and administration permissions on the container you will work in.
-
The "Avacy CMP" template file, downloadable at the following link, in .tpl or .zip format.
Importing the Avacy CMP Template into Google Tag Manager
-
Log in to your Google Tag Manager account and select the desired container.
-
Go to Templates in the side menu.
-
Click on Tag Templates and then on New.

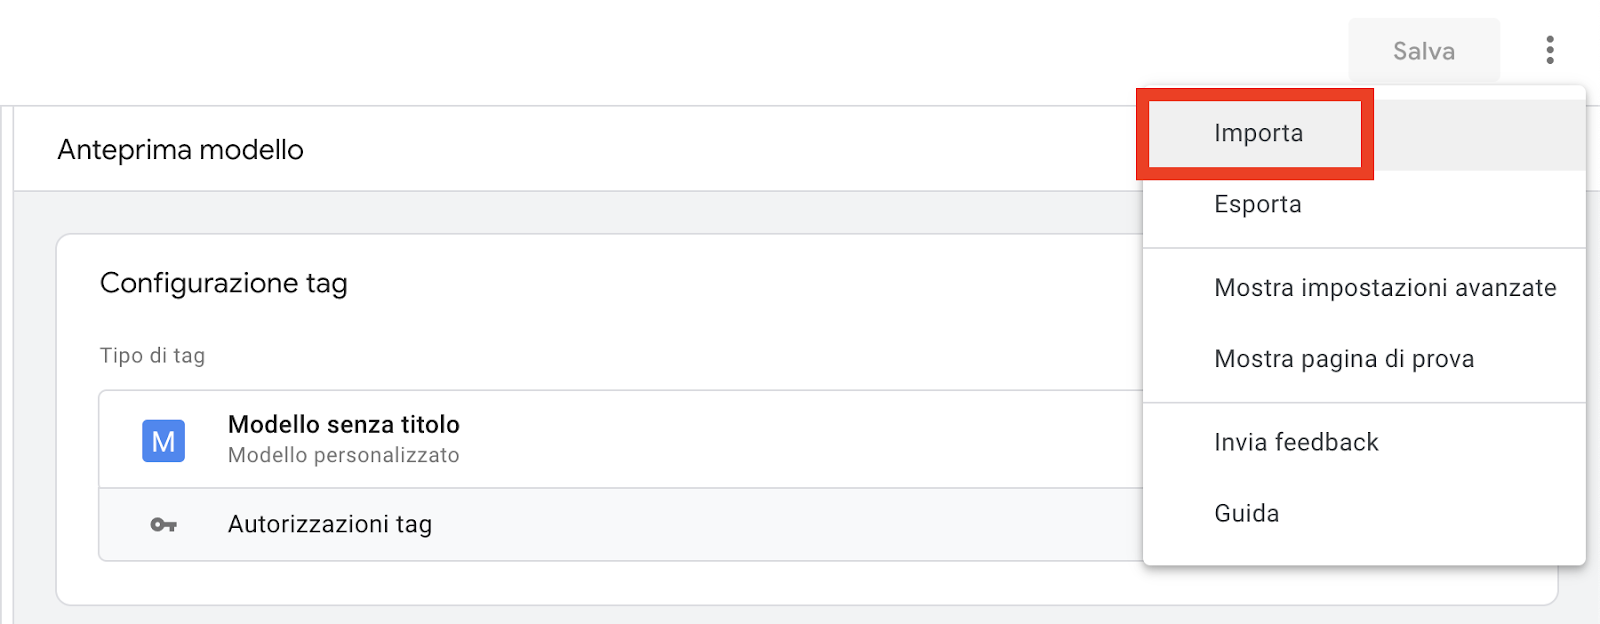
- Select the three vertical dots icon at the top right and choose Import.

- Load the previously downloaded "Avacy CMP" template file and click Save.
Configuring the Avacy CMP Tag
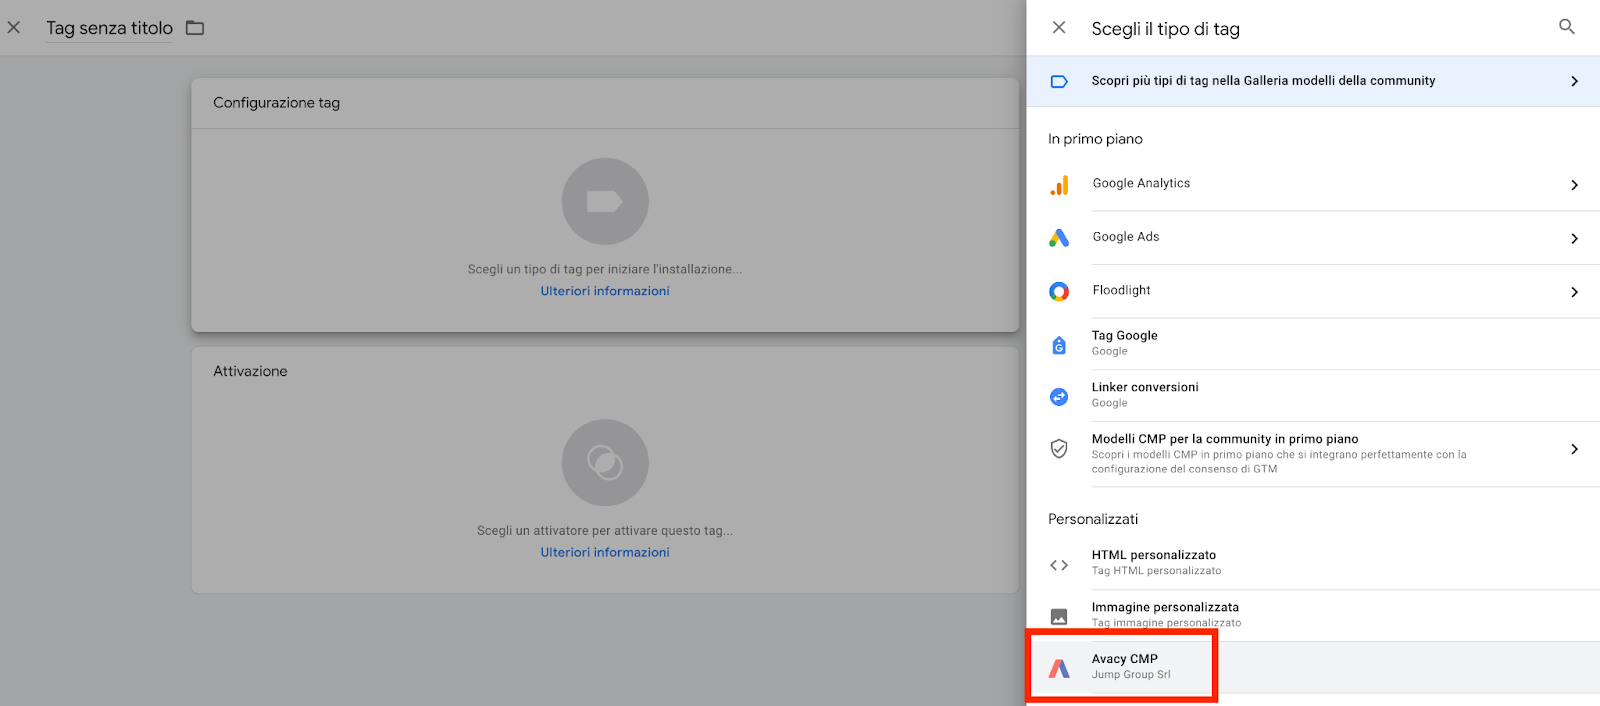
- Create a New Tag in your container and select the "Avacy CMP" template.

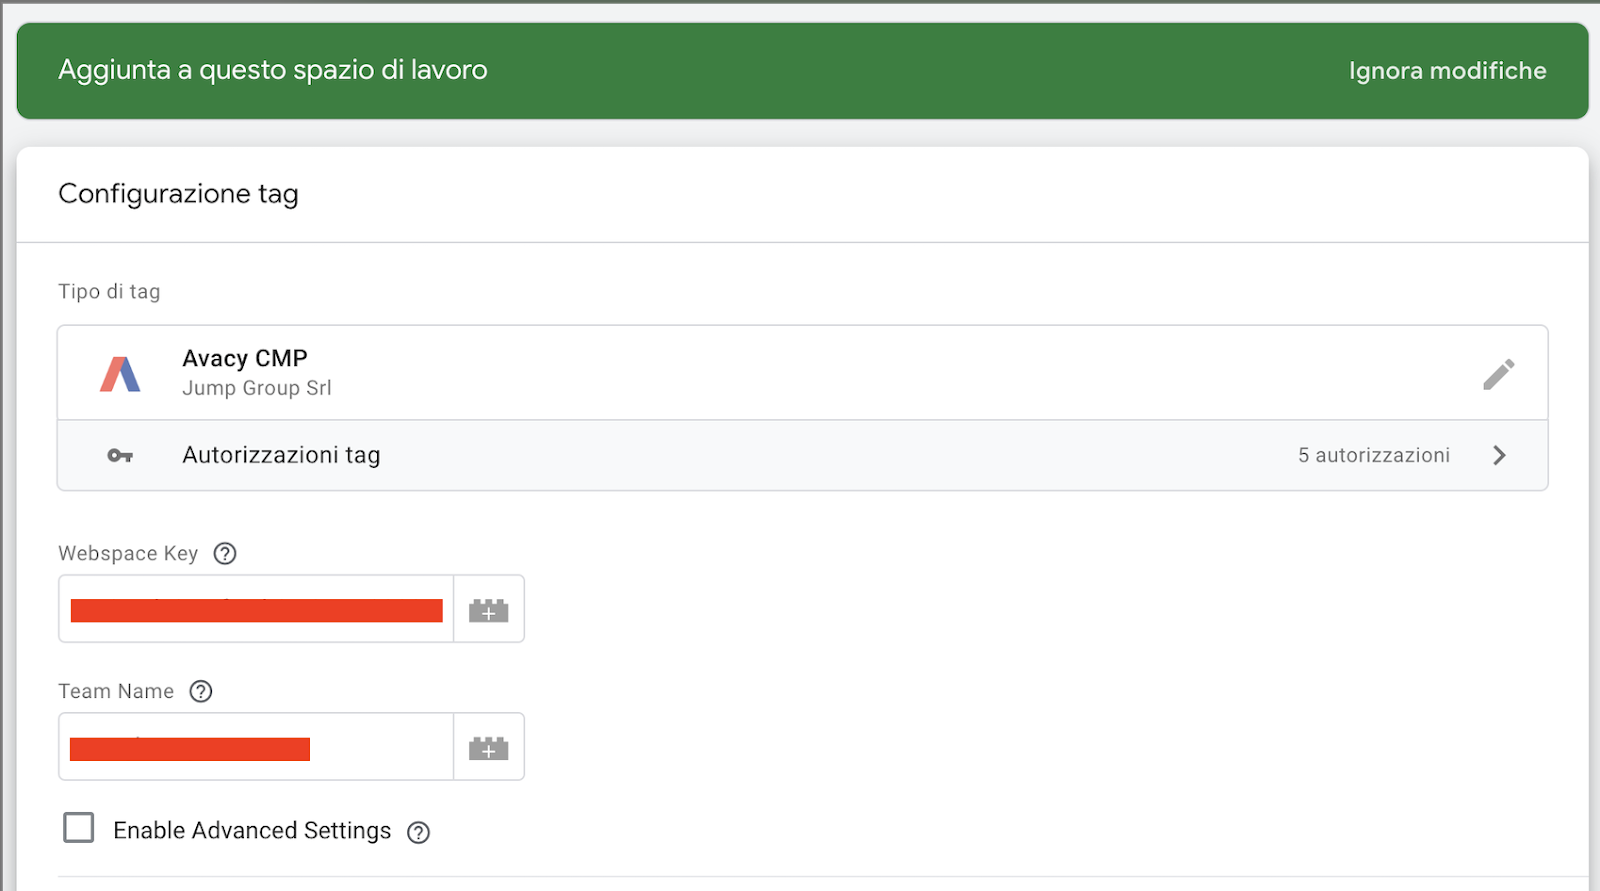
- Configure the parameters required by the template by entering the team name and the webspace key. Both of these parameters can be found in the platform settings under Integrate the banner on your web space, selecting the Google Tag Manager option from the options available in the drop-down menu.

- Set the tag trigger to All Pages to ensure that the consent banner is shown on all pages of the site.
To validate your Avacy CMP template integration, use Google Tag Manager's Preview mode to ensure the tag fires correctly and the consent banner displays as expected on all pages.